
PLEASE NOTE: For optimal results, periodic inspection of the product is recommended.
Step 1 – Clean Gutter
It’s always important to follow health and safety guidelines to ensure safe installation
When Doing it Yourself or using an accredited installer, make sure all health and safety protocols are employed and adhered to.
Make sure that the ladder or platform you will be working off is safe and secure.
Clean out the gutters & down-pipes with a scoop, brush and running water.
Empty and discard all leaves, debris and sludge.
Make sure that your gutters are clipped into the brackets and have the correct fall towards the down pipe outlets.
Incorrect fall to the down-pipes will impede the performance of any system.
Step 2 – Installation
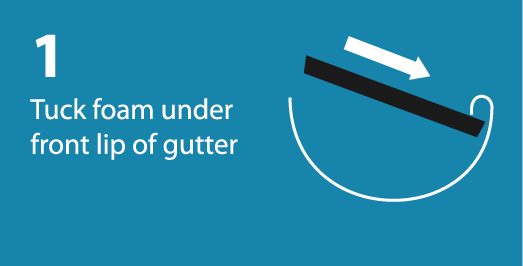
Always start the installation at the internal or external corners to have a full length of filter foam at these points.
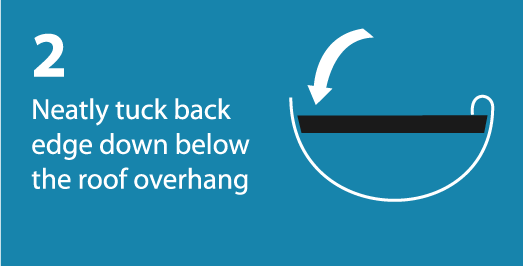
Ensure that the foam is tucked into the front lip of the gutter and the back of the foam is pushed to the fascia side of the gutter and then tucked neatly under the bottom edge of the roof overhang.
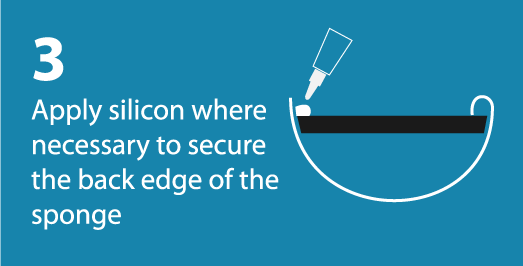
Generally there should be a snug fit, however if there is concern due to the prevailing weather conditions of your area, such as severe storms and high winds, we often recommend using a dab of silicone on the edges to seal in place
Place the next length of filter foam into the gutter and be sure to compress it by 5mm against the previous length leaving no gaps.
Notes
With high support brackets, like with Marley® Systems, the Foam can tuck underneath the bracket or cut the foam into shorter lengths to suit the distance between each bracket.
Tools Required
Sharp box knife or a pair of scissors.
Gloves are necessary to protect your hands and fingers from sharp roof and gutter edges